Remember to read the introduction first!Documentation Index
Fetch the complete documentation index at: https://docs.vly.ai/llms.txt
Use this file to discover all available pages before exploring further.
Create your project
After signing up on our site, you’ll be redirected to your dashboard. Here, you can create a new project by clicking the “Create Project” button.Tutorial: Hacker News Clone
Start by defining your project name and description. In this case, we’ll make a hacker news clone called NewsHacker: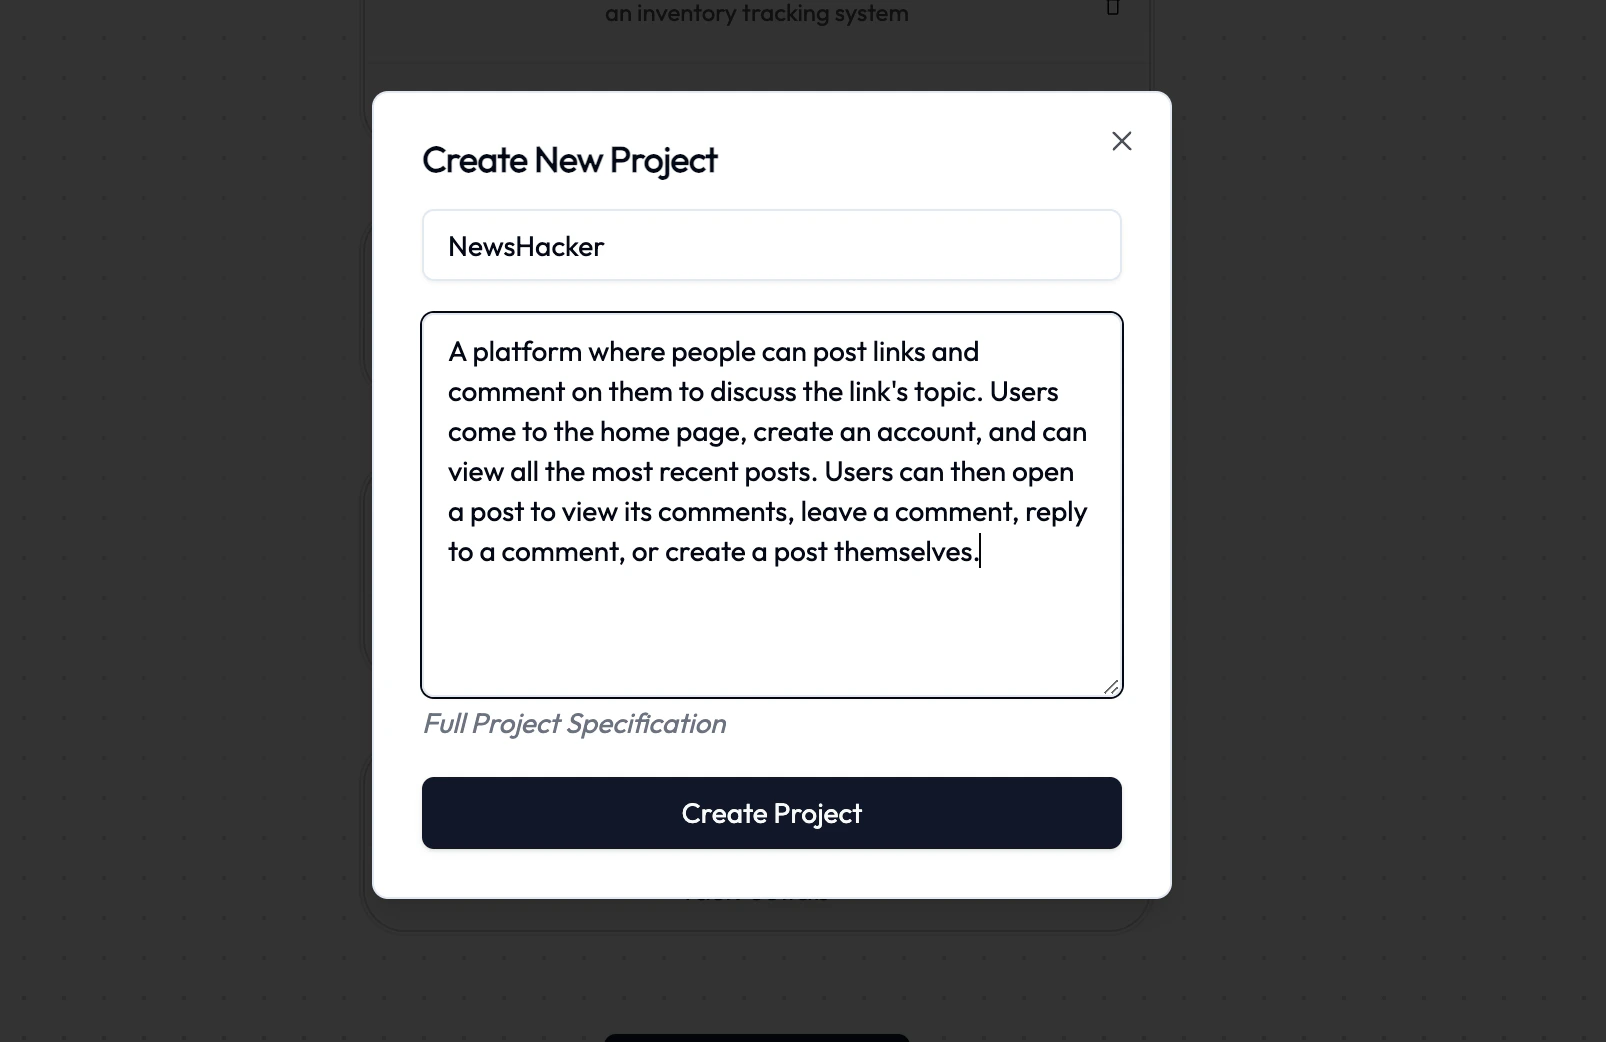
Be as descriptive as possible. This will help our AI models understand what you’re doing.
Navigating the graph
Starting out, you’ll see a few default nodes you can work with: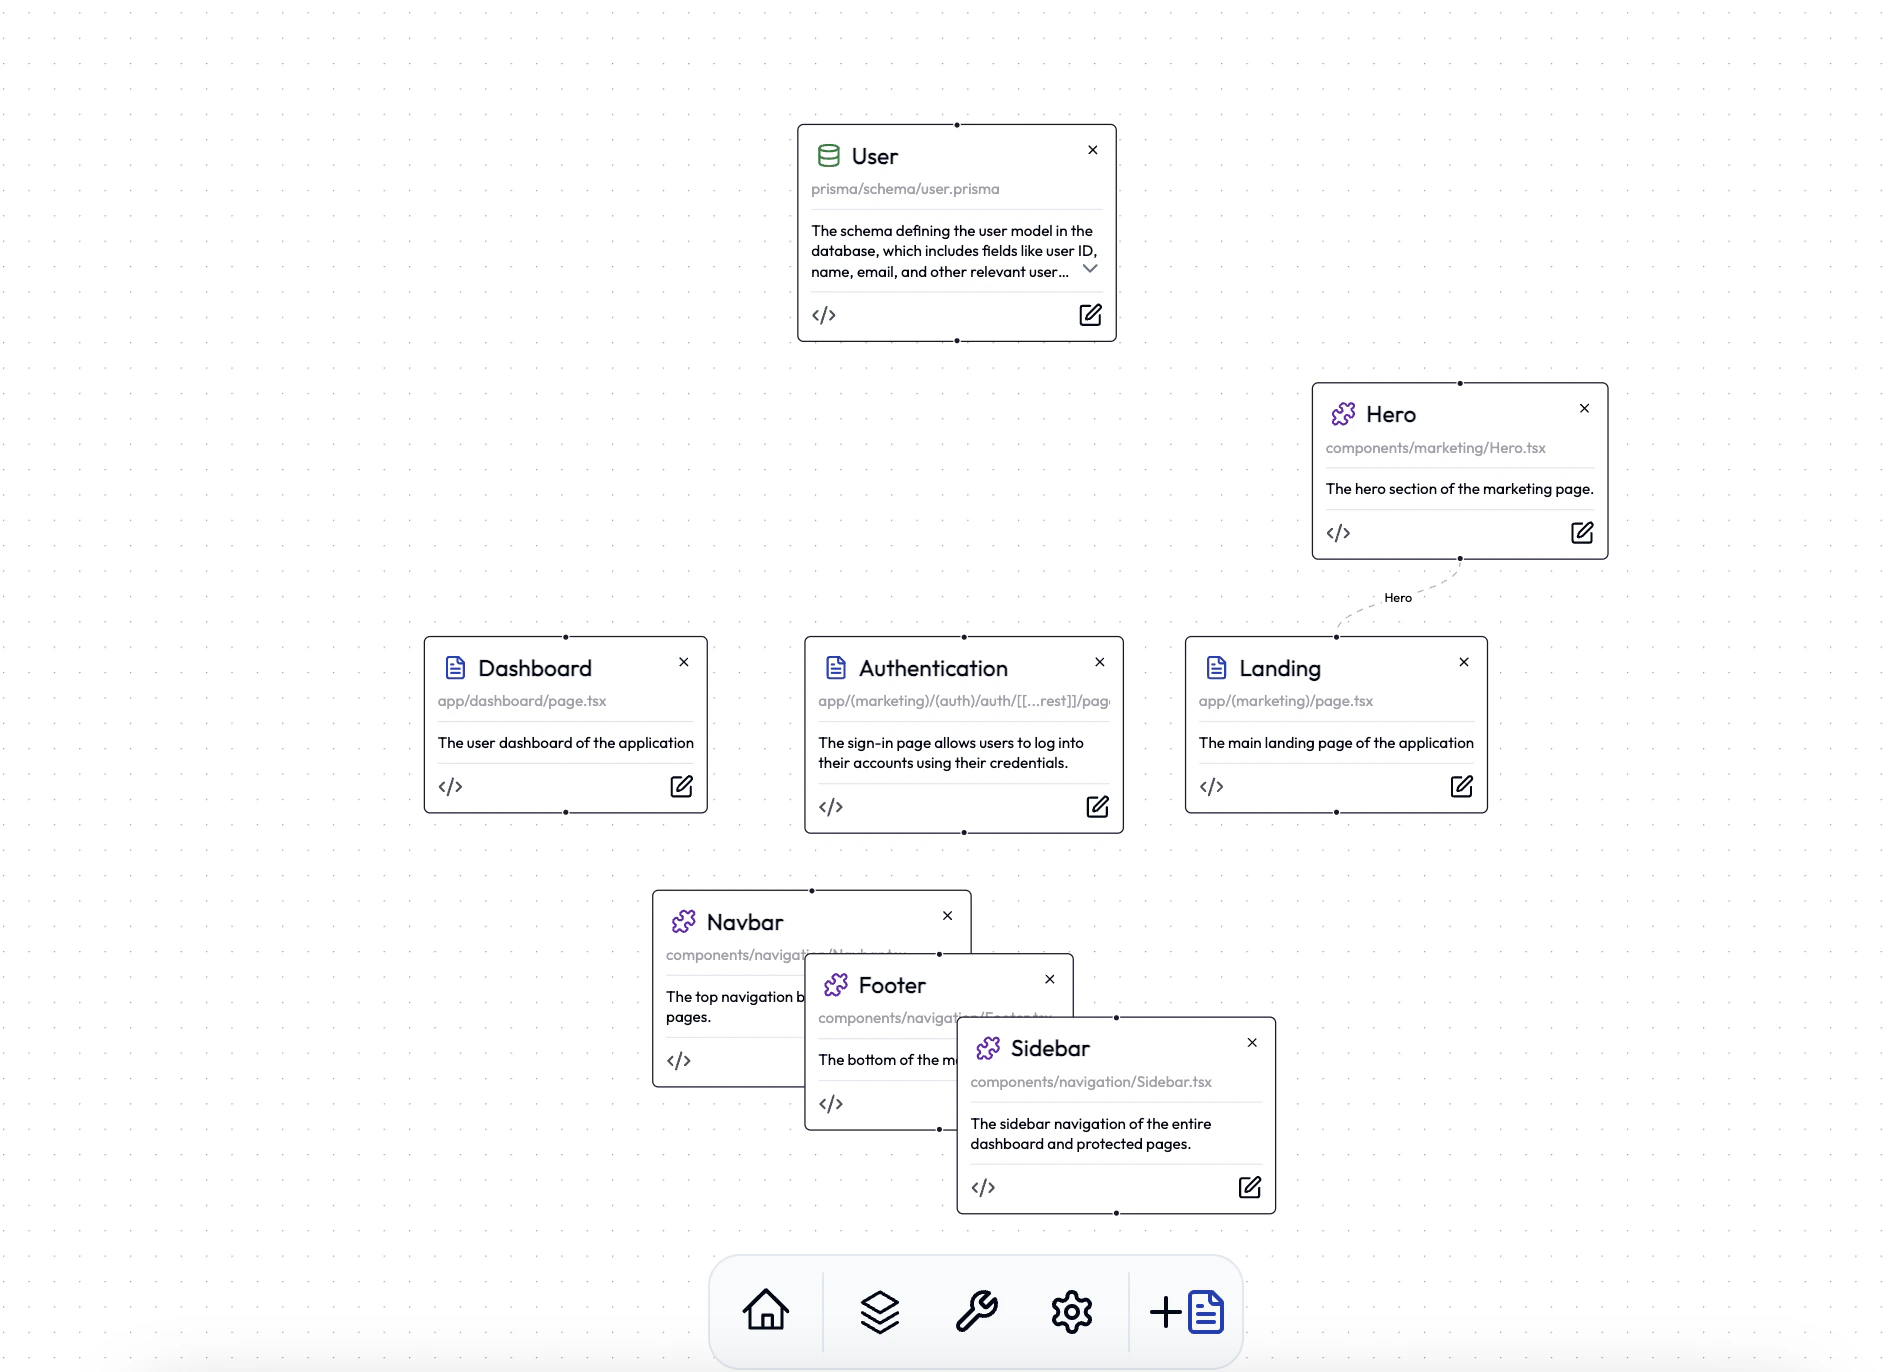
Your Project Structure
- The Landing Page is always the index (/) route
- The dashboard route is for authenticated users and is where your core app will live
- All authentication is already done for you. Don’t need to worry about iconType
- Navigation is also handled. Landing pages use the Navbar/Footer components, and the dashboard uses the Sidebar component.
You will need to change the links on the Navigation components. After deploying, simply click on the “Edit Node” button and describe the new links you want.
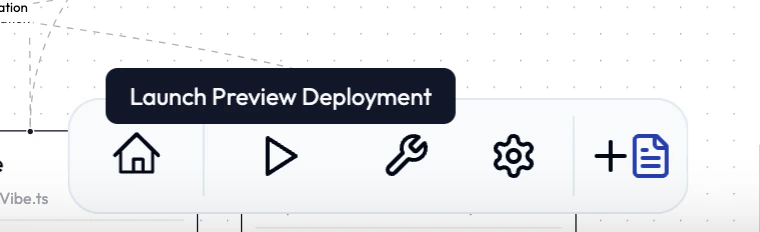
Adding a new page
Use the dock at the bottom of the screen. This has all the controls you can work with. Clicking on “Add Page” will open the architecture panel.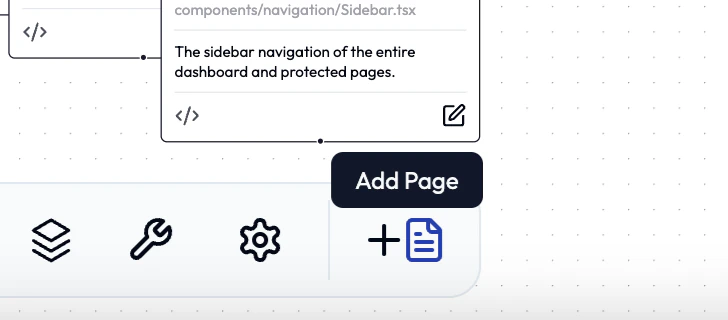
Step 1: Describing the page
In this case, we will be describing our dashboard page for NewsHacker: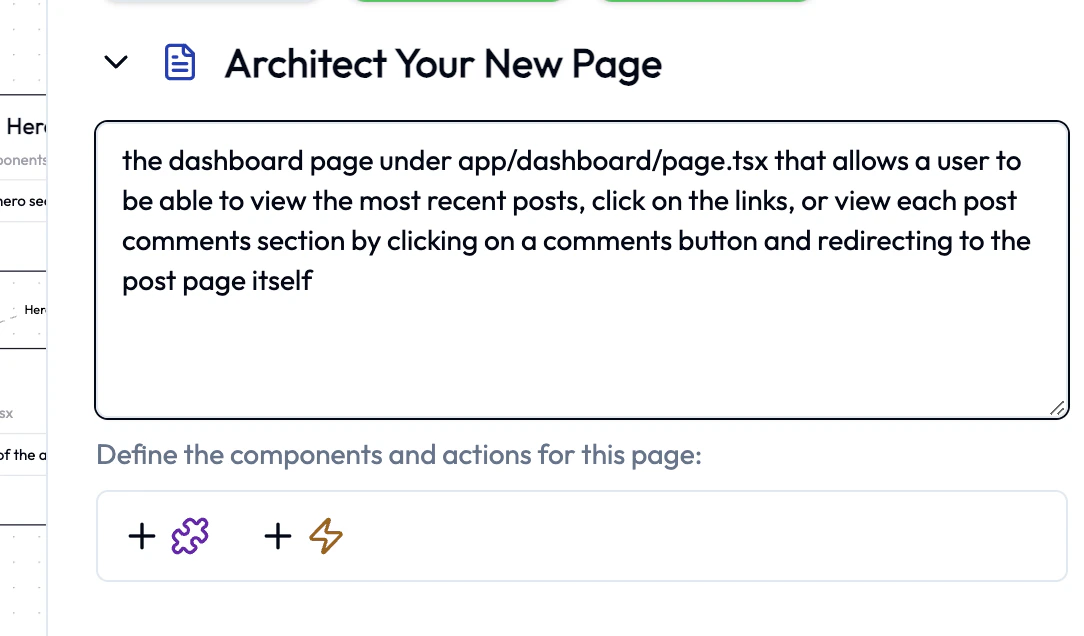
But wait! Don’t press “Generate” just yet. You still need to architect the structure of the page!
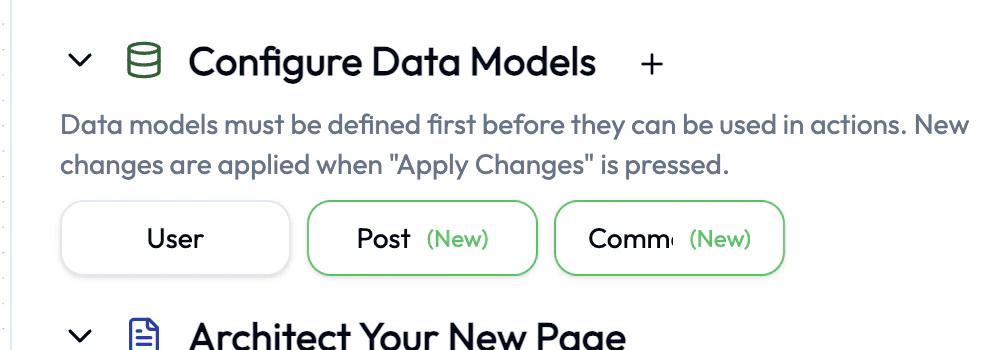
Step 2: Adding data models
This part is tricky. You will need to think about properly designing how your app will work, and what this page will be using. Start by scrolling to the top of the panel and clicking on “Add new model”: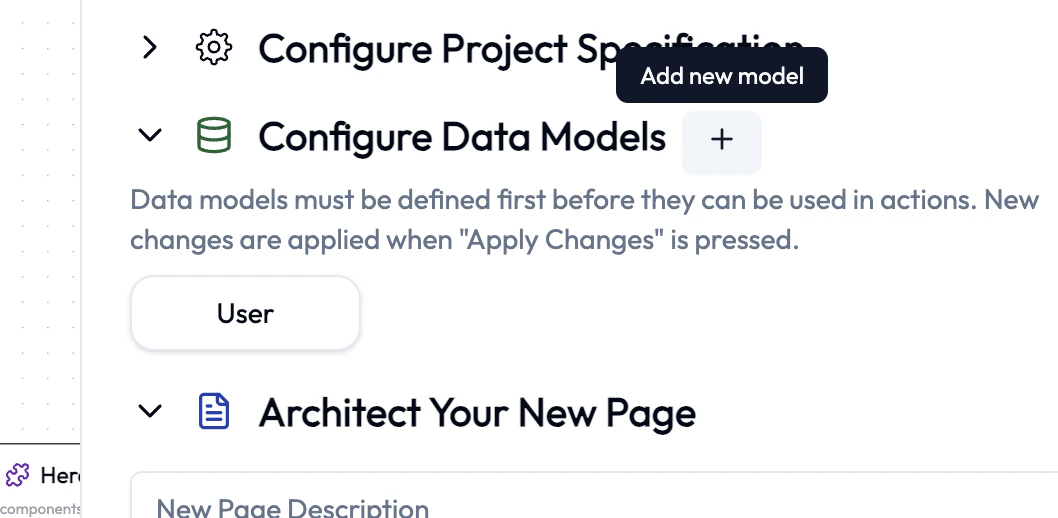
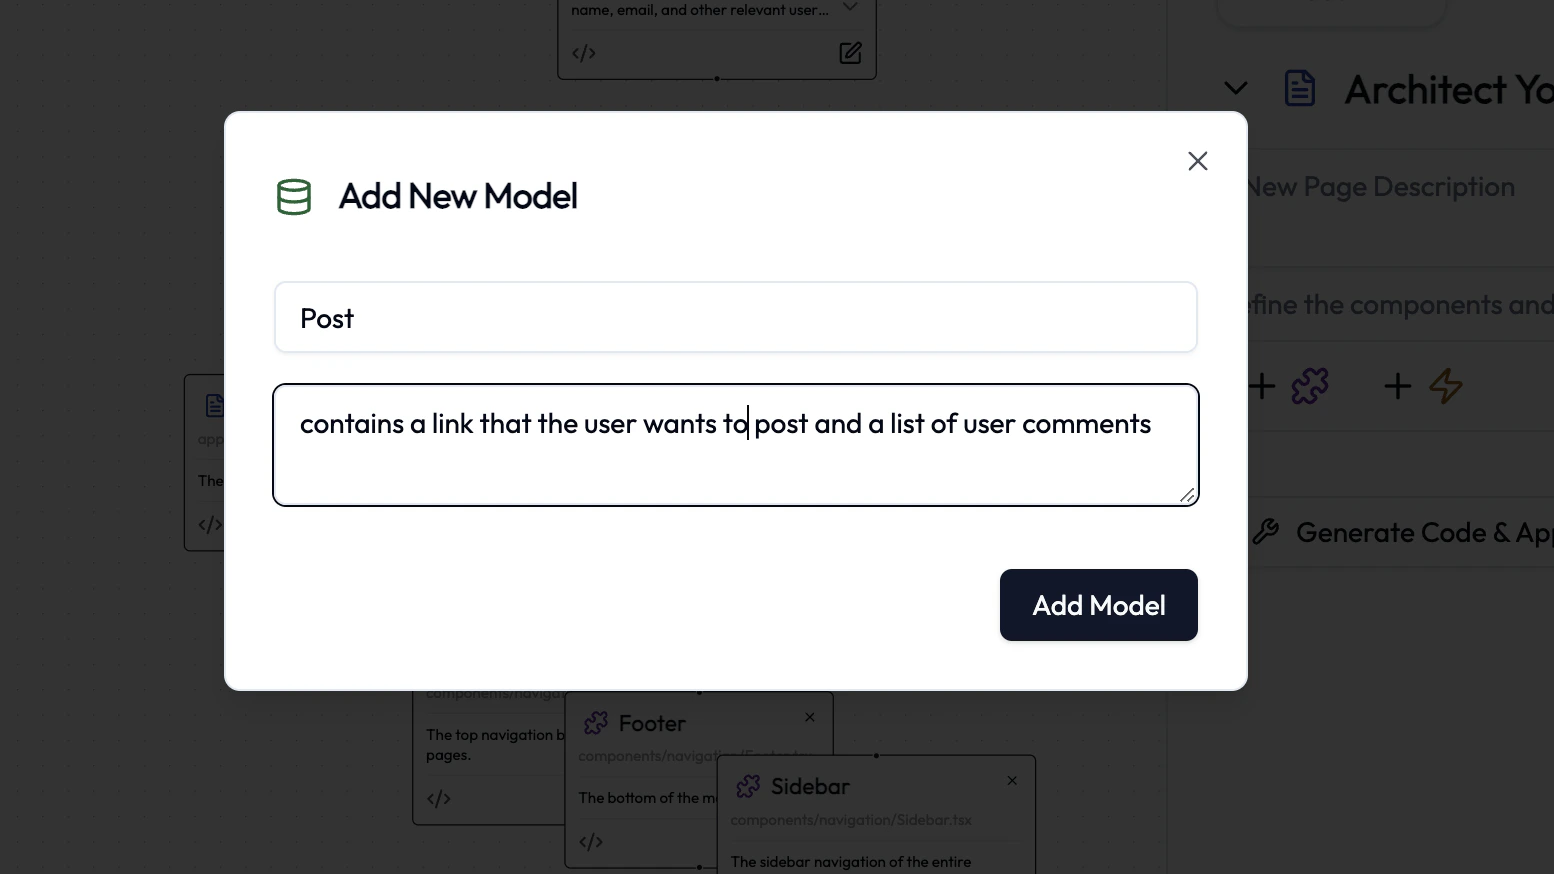
Be descriptive when describing your models. List all the fields you want to include and relationships to other models (ie posts store comments and comments store replies)
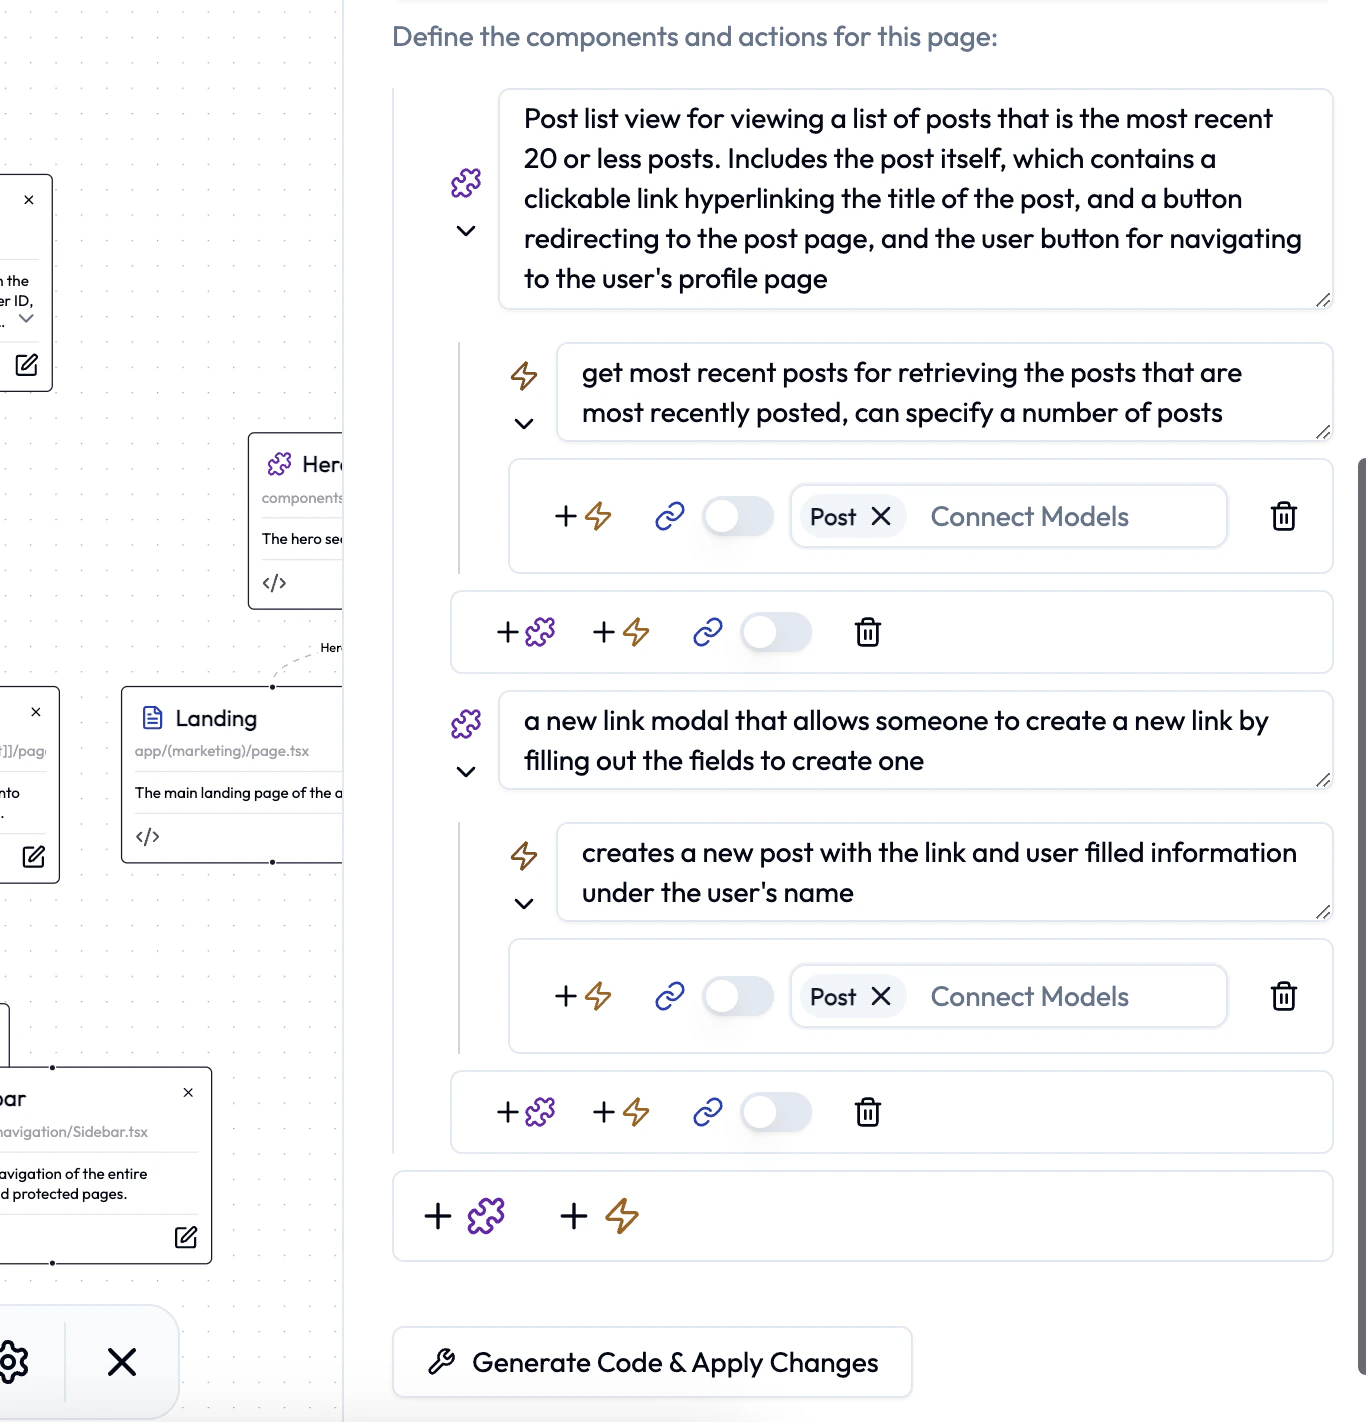
Step 3: Adding in Components
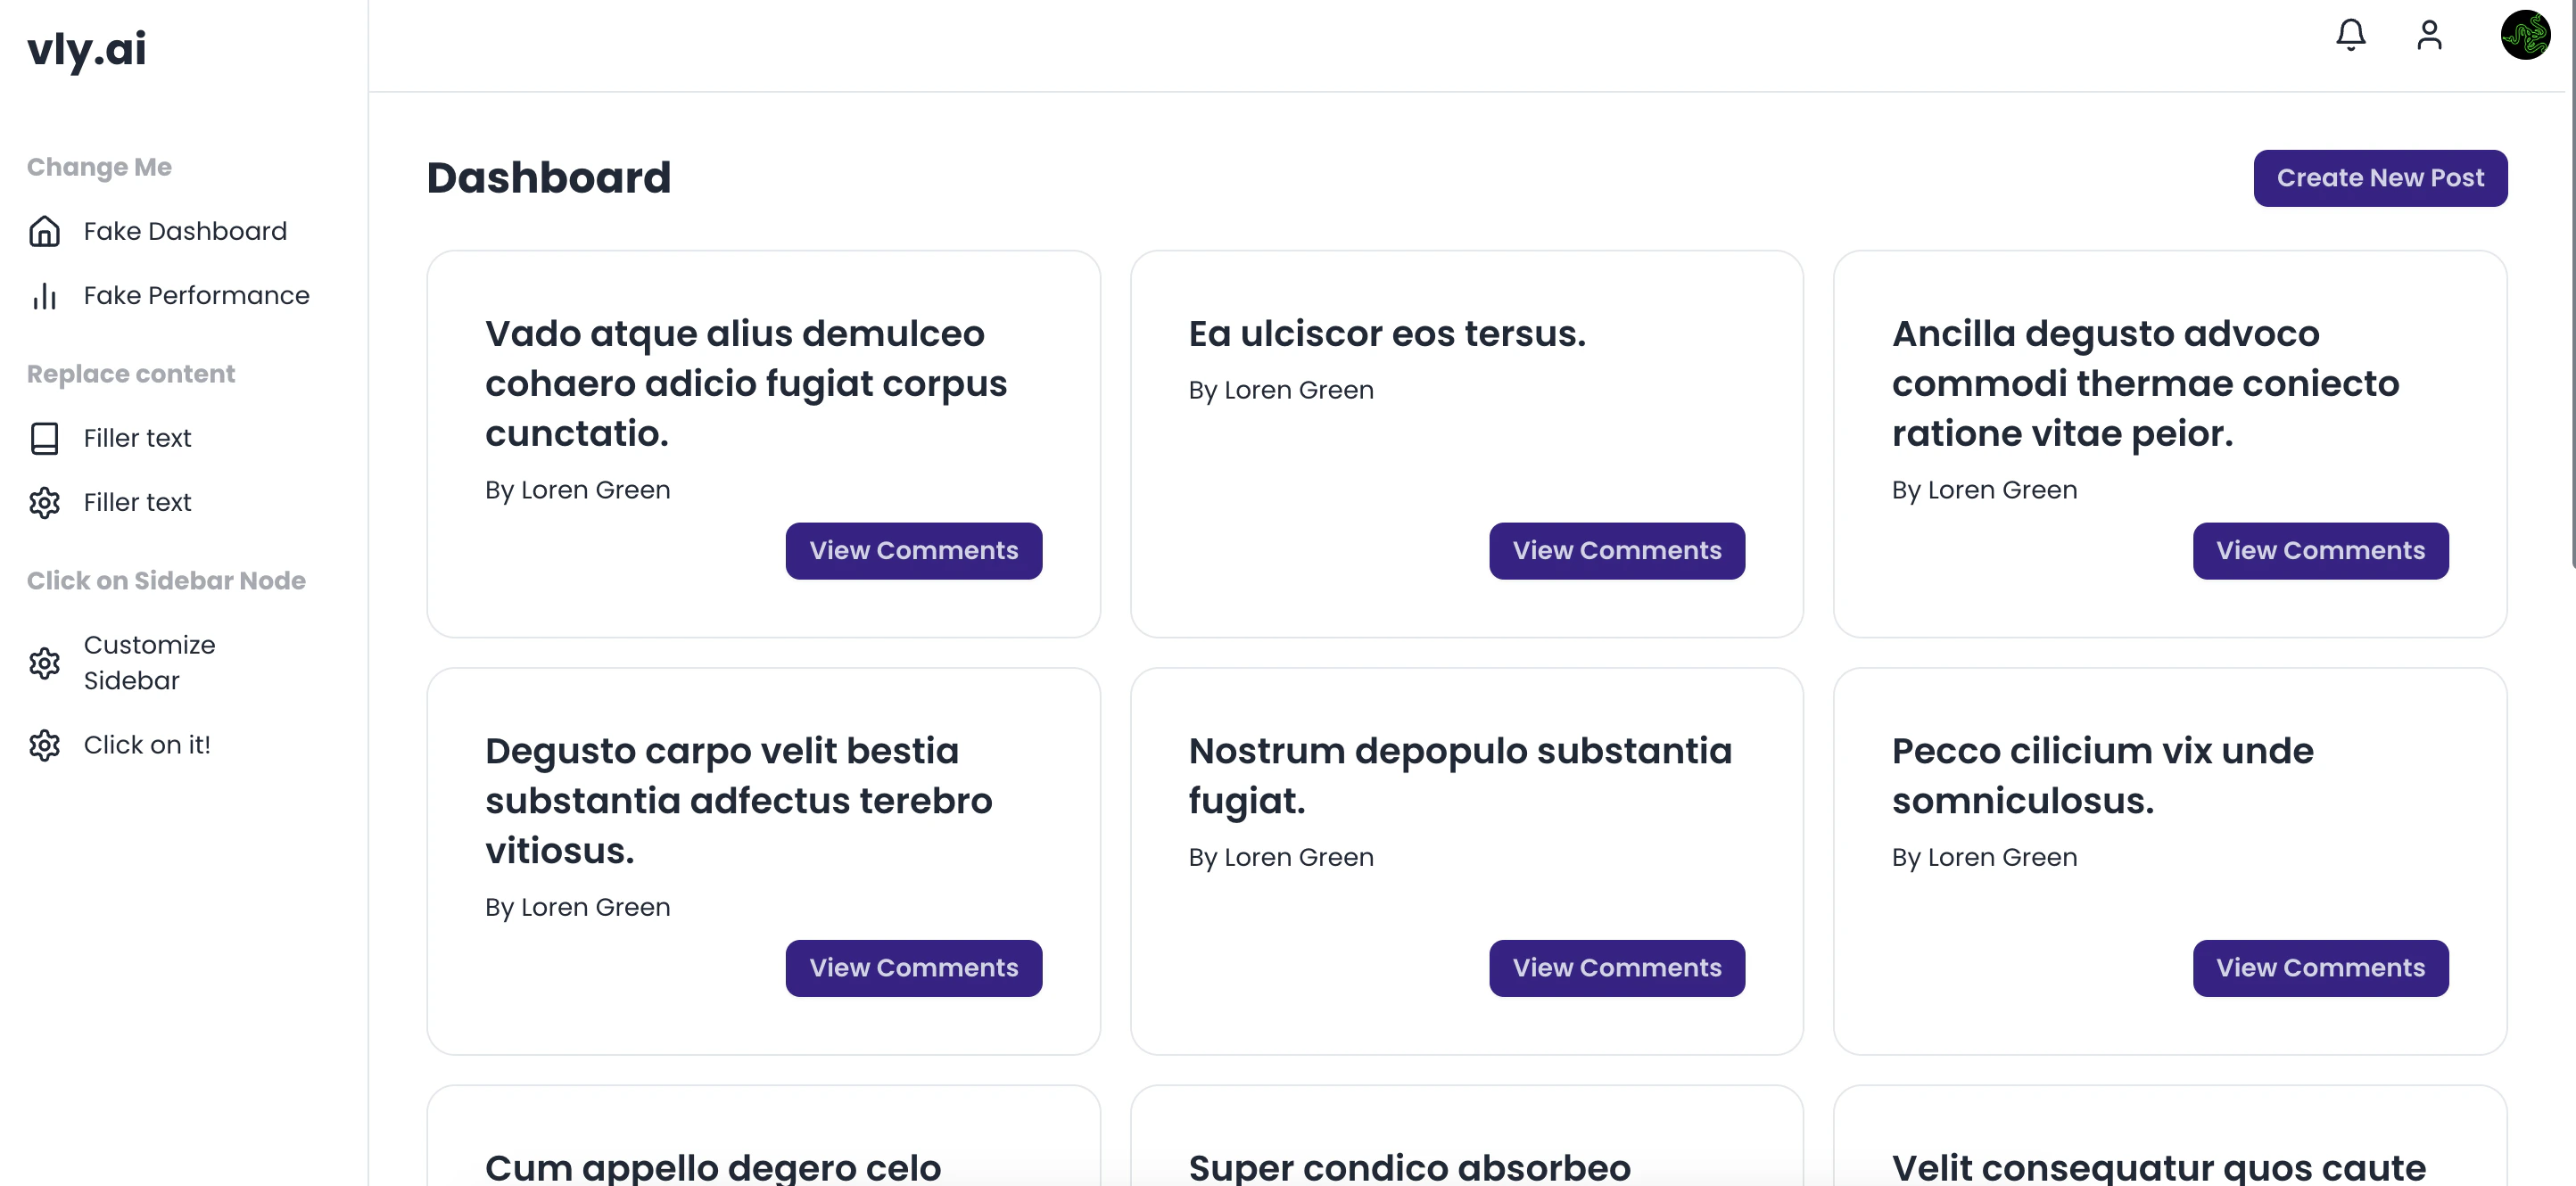
Now, think about the parts of the page you want to include. This is where you will divide up the page into components. For NewsHacker, I decided to have the dashboard include:- A list viewing out the most recent posts, with each post having a clickable link and a button that takes you to the comments page
- A pop-up that allows the user to create a new link to post about
Step 4: Adding in Actions
Here is where things get tricky. First, you must understand that you are creating a nested layout:The nested hierarchy allows you to define actions & components but also sub-actions & sub-components
It matters where you define your components and actions. Parts living on the same level will use each other, while nested sub-actions and sub-components are required to be used by their parents
Now, take a second to understand the architecture above
Step 5: Generating the code
Click on the Generate button to begin generating.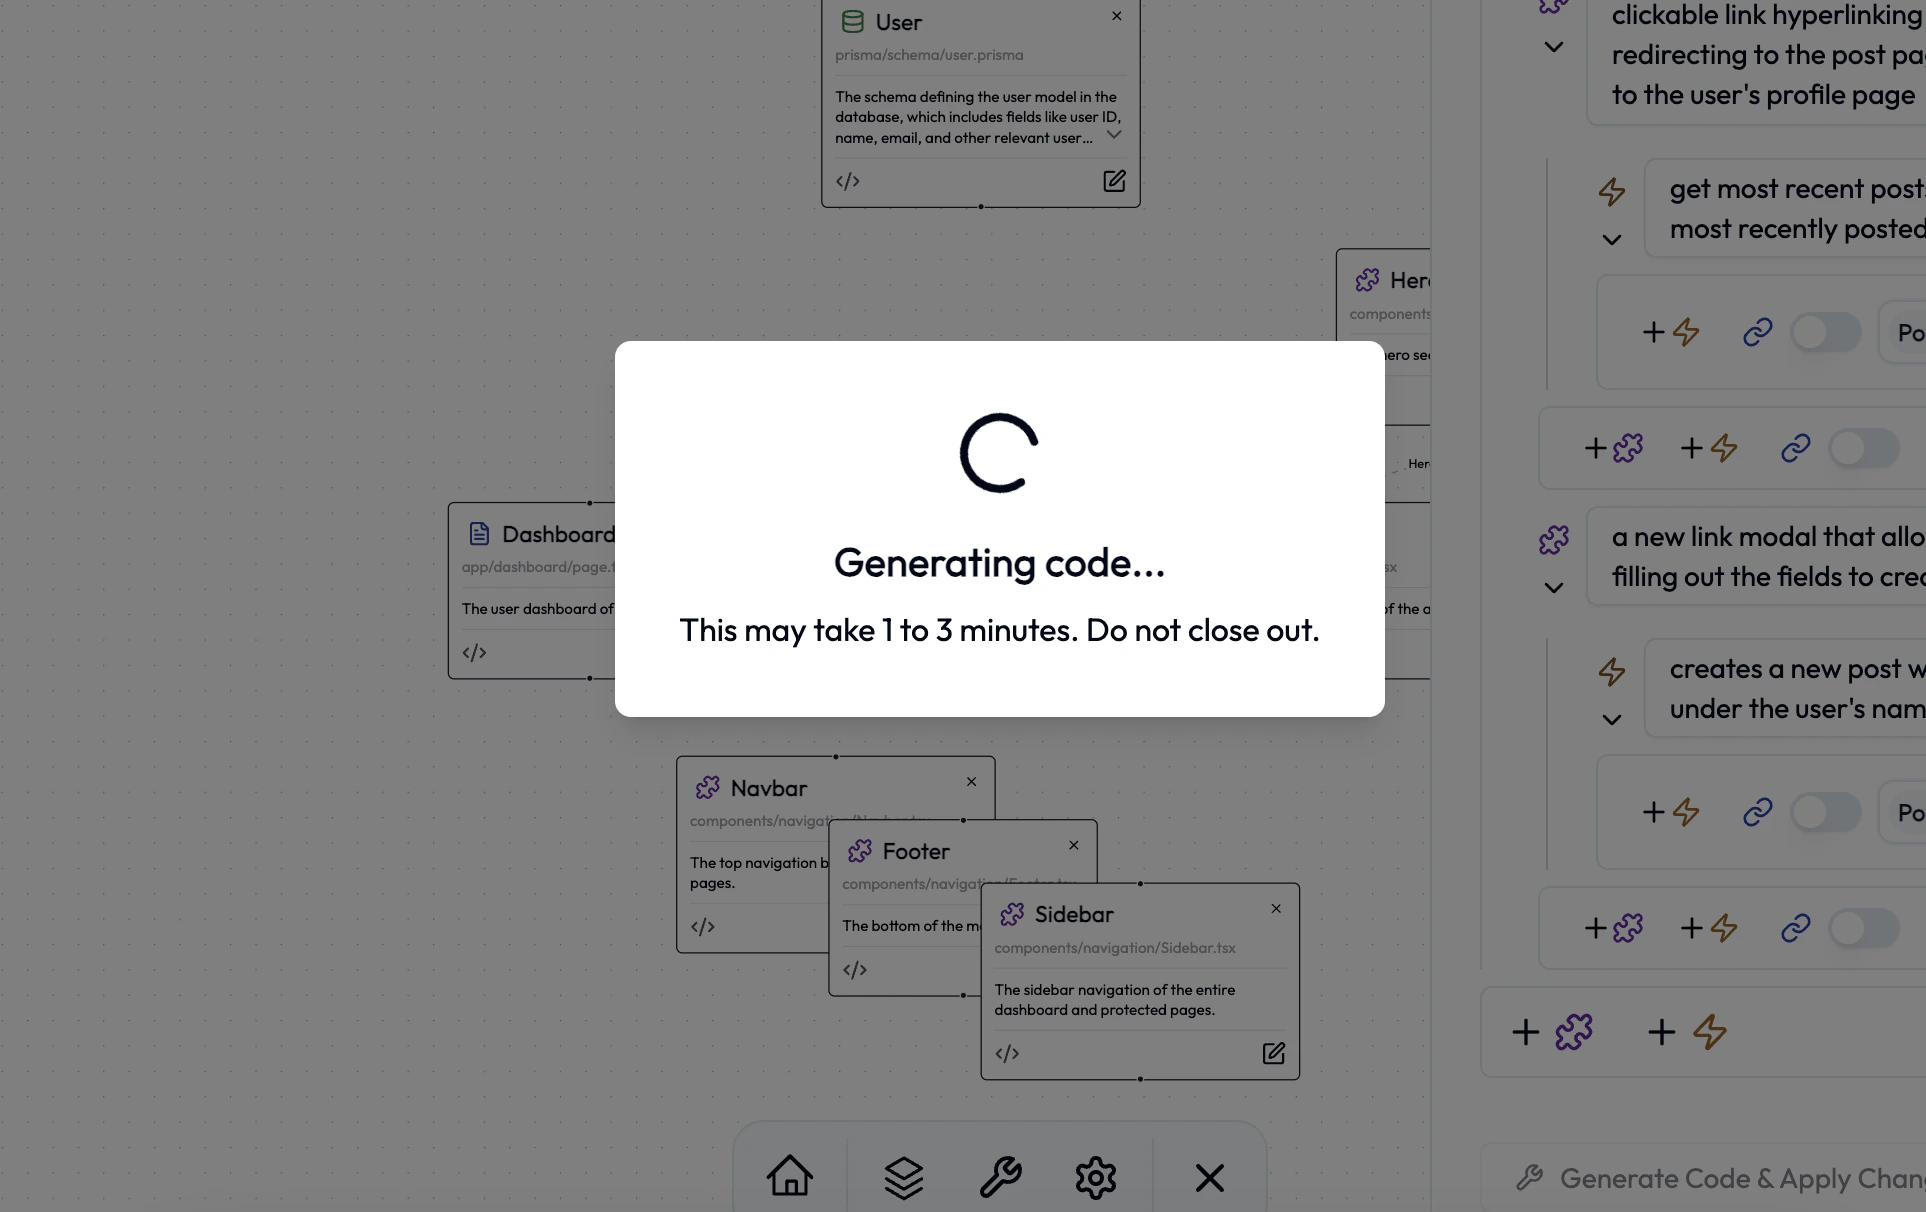
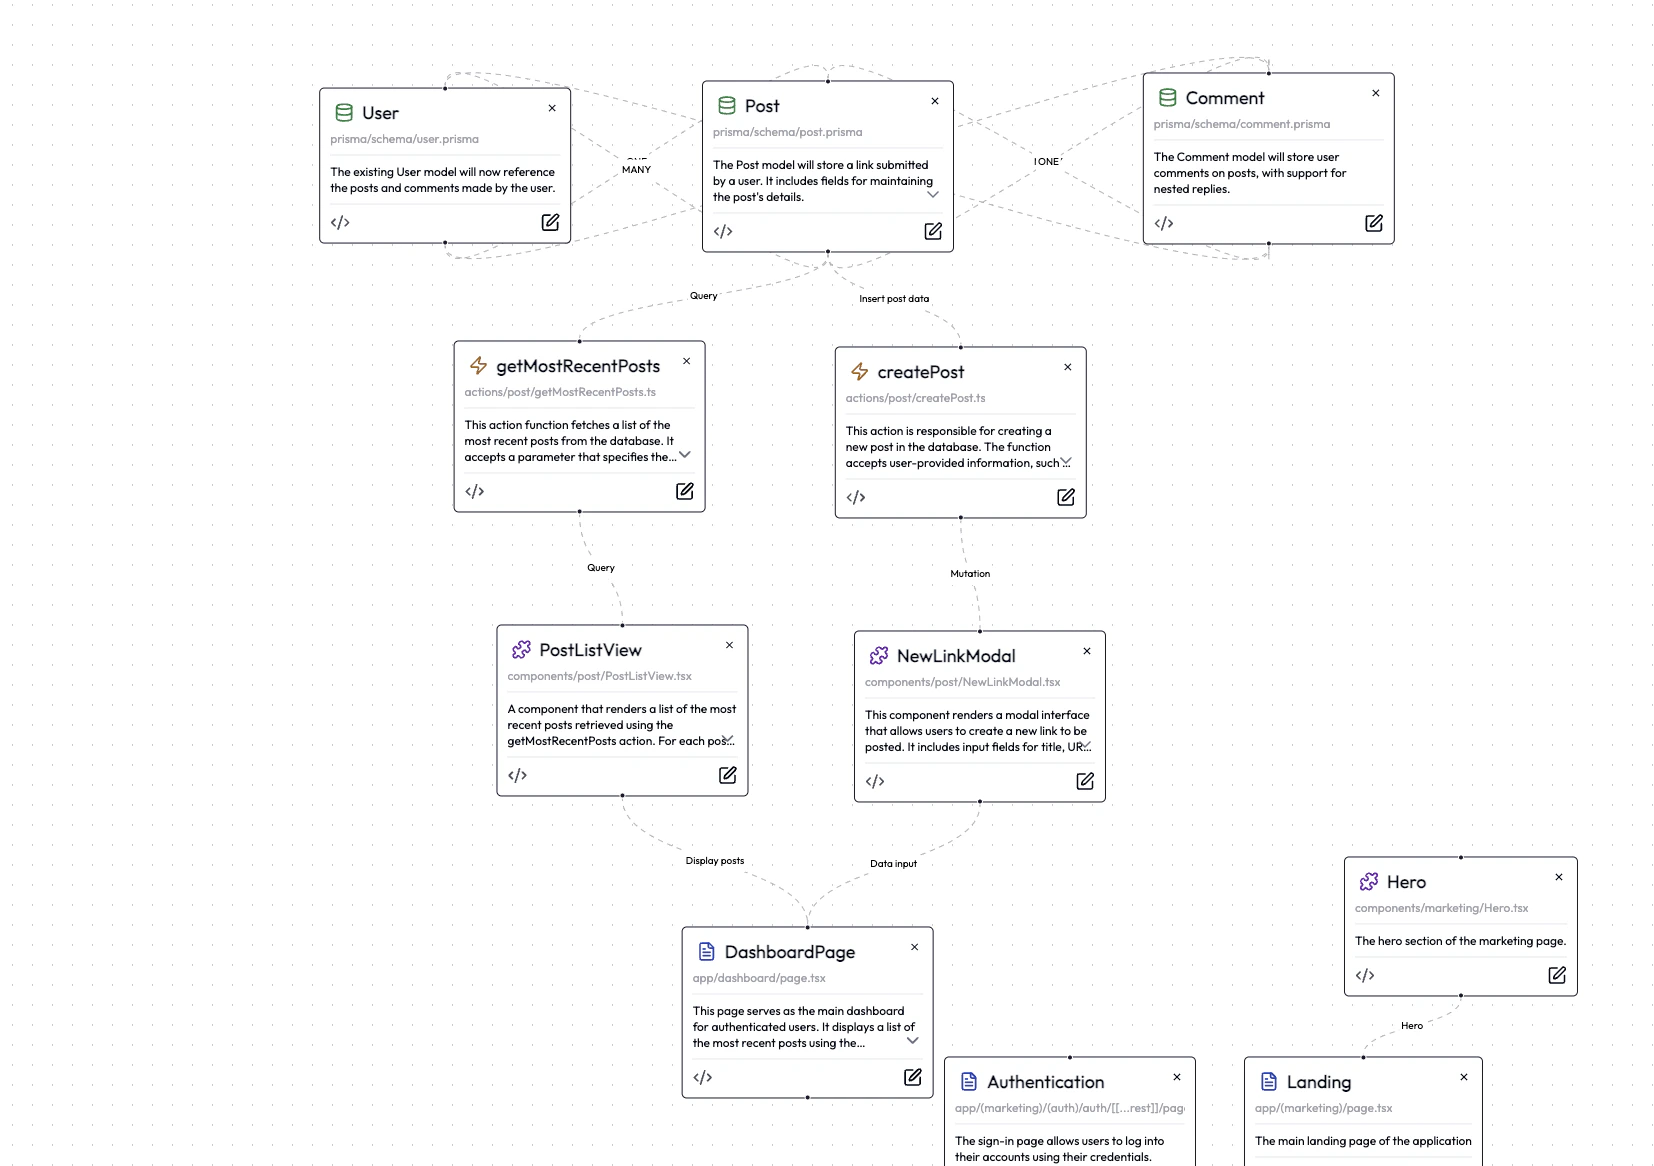
Your new page has been generated! That’s all it took
Step 6: Deploying your app
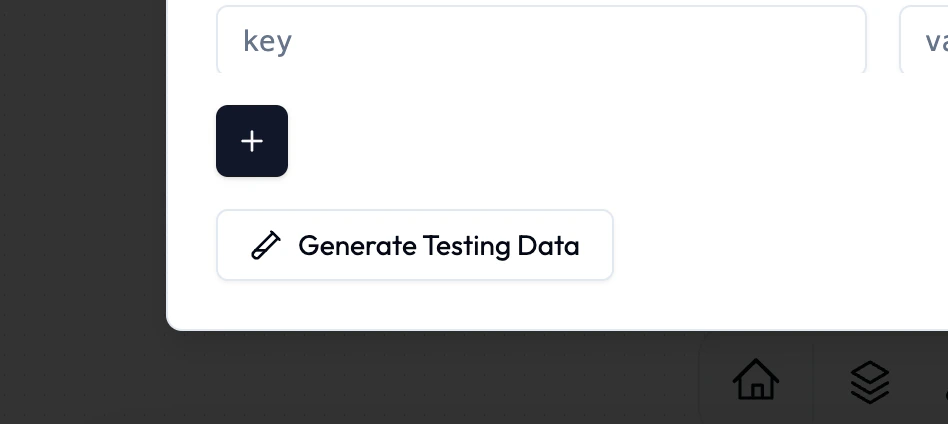
Click the “Deploy” button on the dock to deploy your app.Before you do so, you may want to create some testing data (optional)If you want to generate testing data, click on the settings icon and click “Generate Testing Data”
Testing your app
After you deploy, you can go test it out: